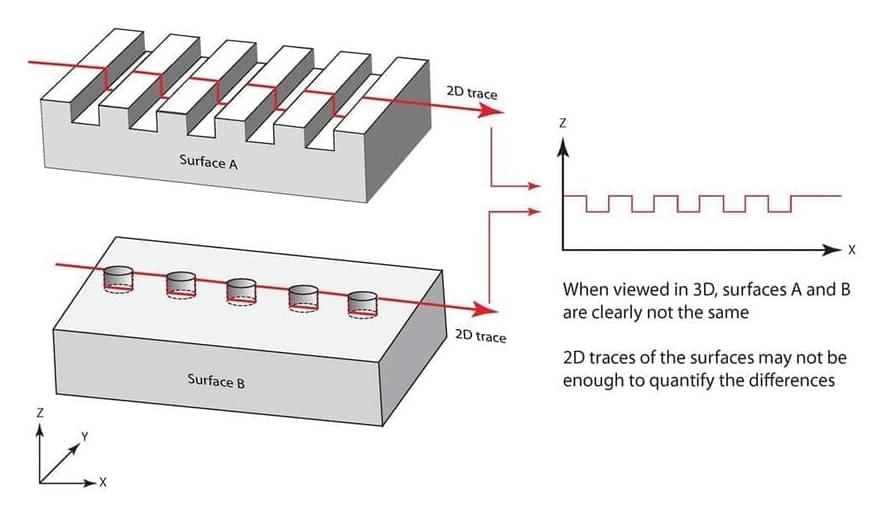
Two-dimensional surface profiling systems are excellent for measuring surface finish under certain conditions, but three-dimensional measurement systems offer more robust data. Photo Credit: George Schuetz.
“In the beginning,” as some might say, an experienced machinist would use a scratch pad and an educated fingernail to determine the surface quality of a part. Then, in the 1940s, the first series of electronic surface finish gages were developed. Today, machinists and quality labs have surface finish standards and parameters and a variety of gages to measure surfaces.
There are two basic varieties of surface finish gage: skid-type, or averaging systems and skidless, or profiling systems. Skidded gages have a hinged probe assembly, with the probe riding next to a relatively broad skid that also contacts the workpiece. The skid tends to filter out waviness, so the probe measures only short-wavelength variations. A skidded gage usually has a dial or LCD readout to display the measurement as a single numerical value.
